Tuesday, September 04, 2007

Porch

This porch was started by hubby sometime in June when my Nanay visited us. At first I thought it was so simple...not quite!


It was quick once the foundation was laid. As far as the structure is concerned, it is 100% done. Now we will just add little bits of things as we have the money to spare...

Thursday, January 13, 2005

A Recap of What We Have Accomplished So Far with Our House

It's a new year - 2005. We started working on our house in 2003. Without the money to hire professionals to make the plan, and work on everything from construction (including foundation up to roofing), to electricals and plumbing, as well as the minor construction work like insulation and walling with sheetrock, we try to make do with what skills we have. I myself have no prior knowledge with building, especially a house built in this kind of climate. With my hubby's explanations, I'm beginning to learn the why's (I used to wonder why in foreign movies, the walls were very easily destroyed by hurtling a man's body onto it. Now I know that it is not made of cement and that it is hollow. And now I also know that wood is a better insulation than cement and is less expensive.) I began to understand more about the dynamics of air (hot vs. cold) and water (good thing I have a very good understanding of the basics of fluid and air dynamics from physics lessons from high school to college; if not, I would be gaping at my hubby everytime he explains something).

So, before we actually start doing something this year, here's a recap of what we have done so far:

All below can be archived from first part of Our Tahanan blog.

2003

april - cleaning the site, water pipe

may to june - foundation done

june - laid the radiant heating system, cement floors and erected the first wall

july - proceeded with the skeleton of the house (walls and joists and rafters)

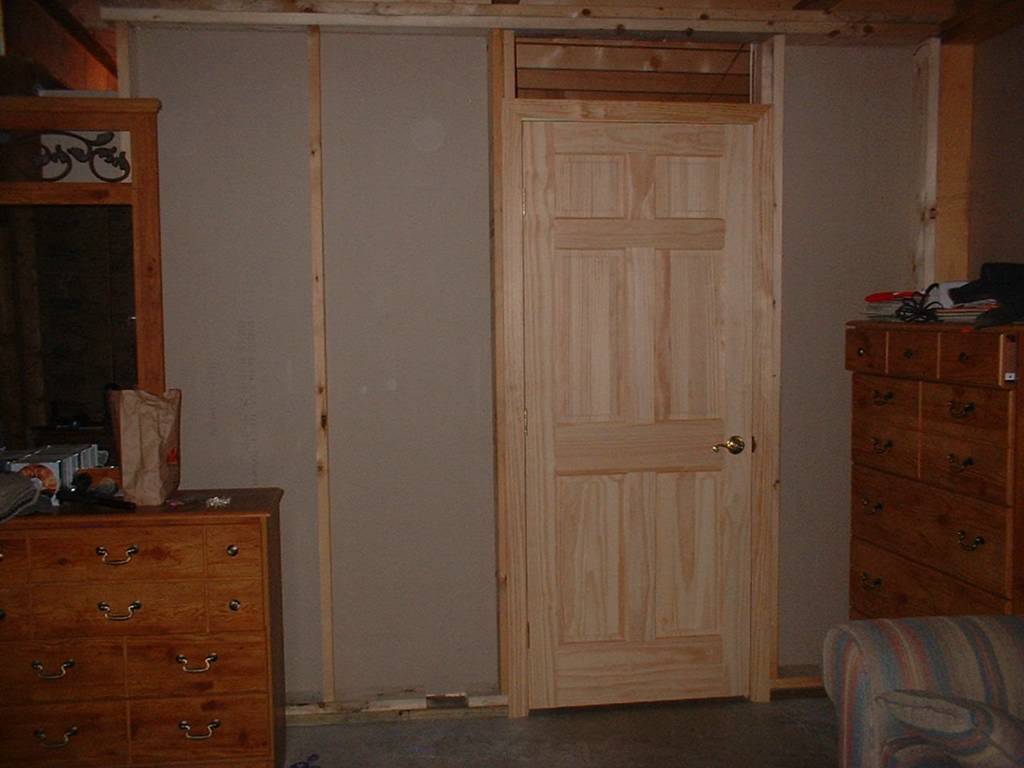
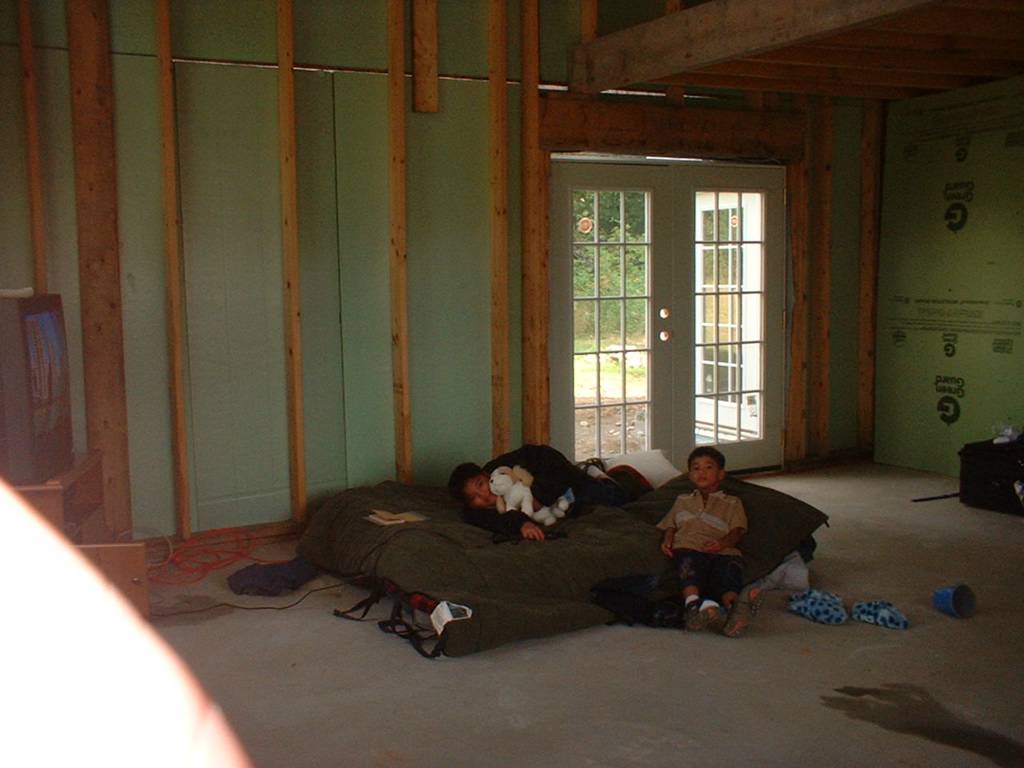
august - finished roofing, added doors and windows


From this point on, the plan for the interior is pretty much flexible. WE try to arrive at a final plan inside as we get the feel of living in it. We also install electrical wires as we feel necessary. (Well, we usually make it a point to have an outlet every 2 ft along the wall, enough for working with the vacuum cleaner anywhere in the house without needing an extension cord. But we keep in mind not to overload the lines.)

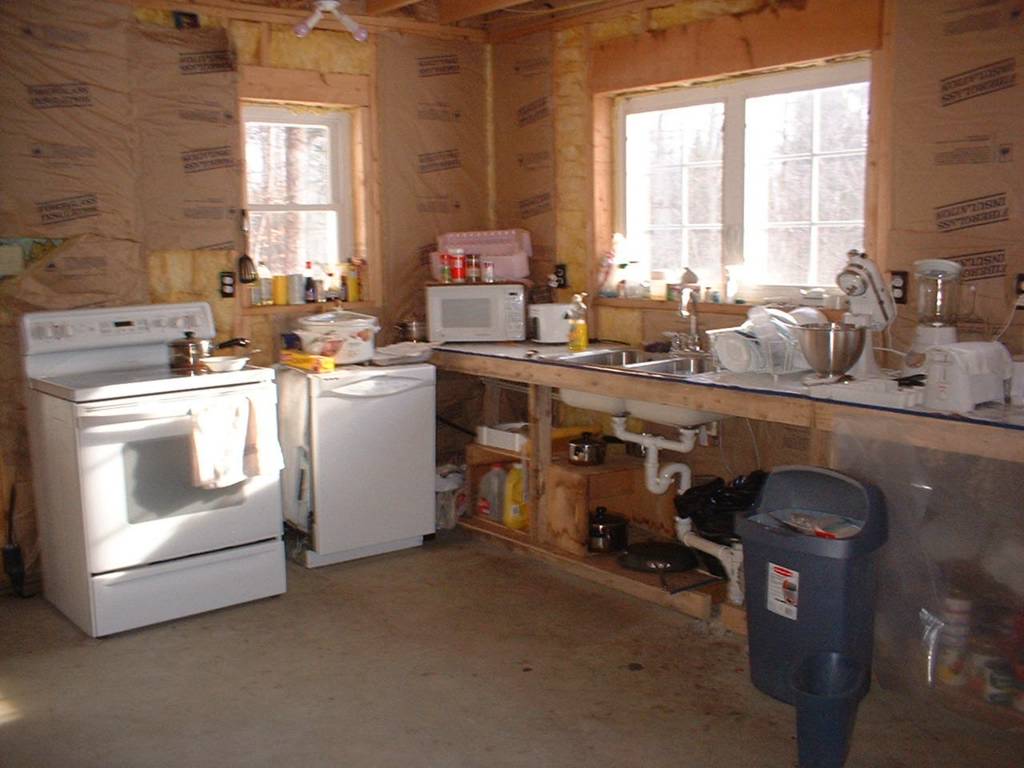
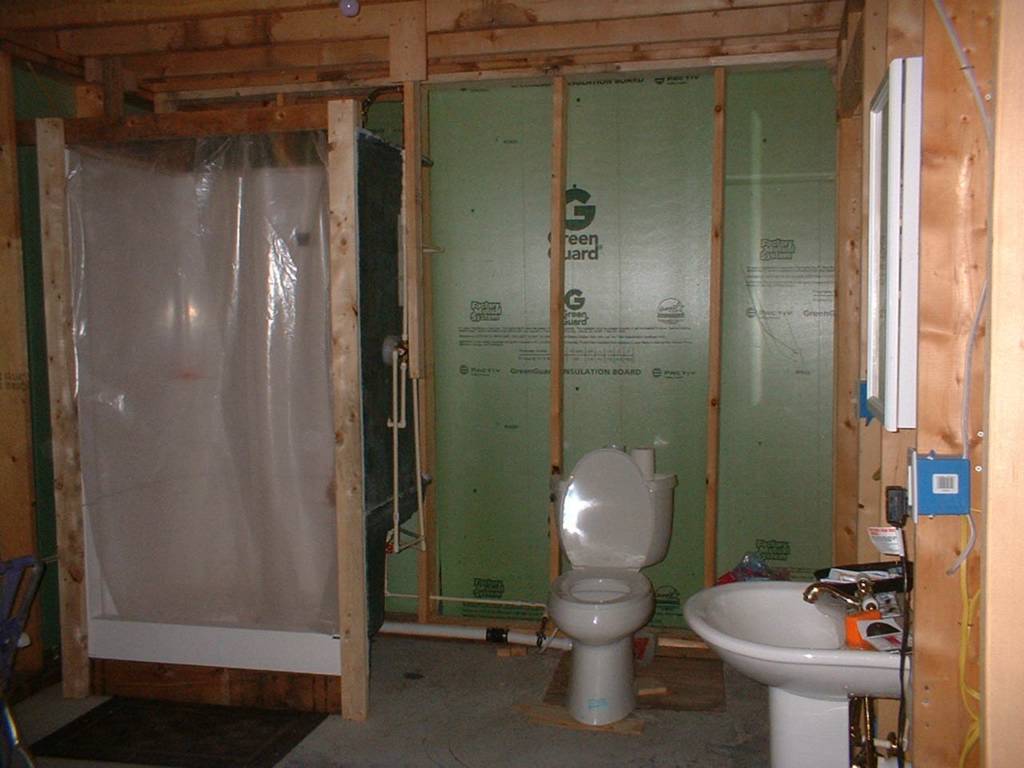
september - I and my boys arrived; worked on temporary shower/bathroom/toilet and sink and countertop
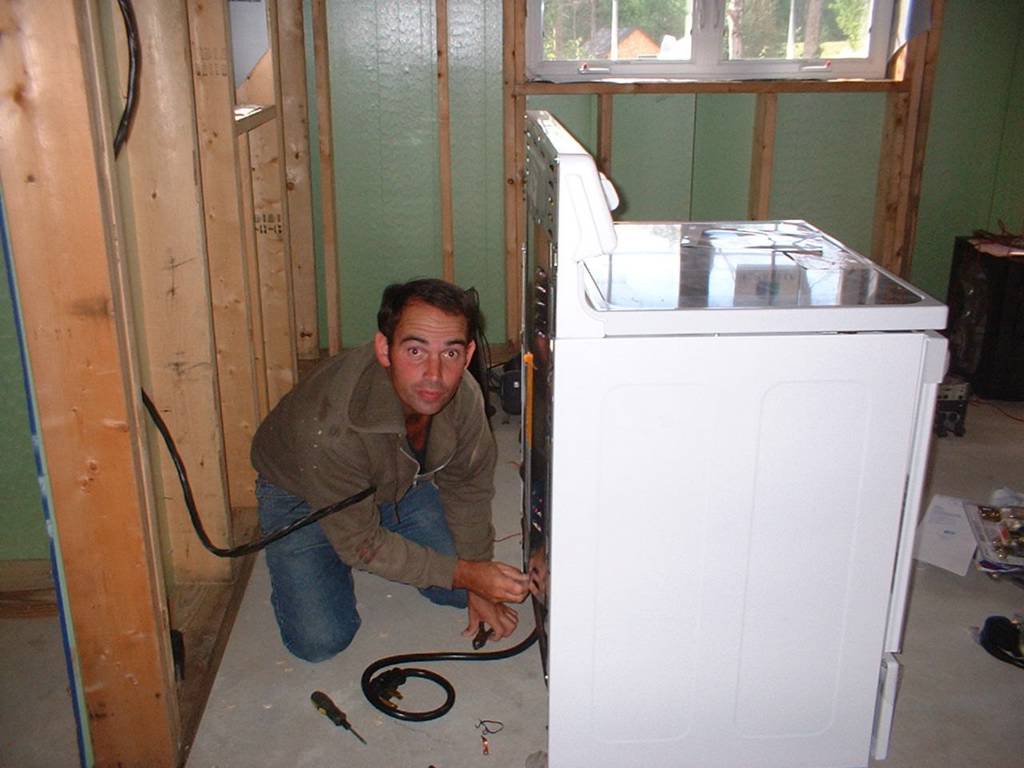
installed major appliances (washer/dryer, oven, dishwasher, fridge); bought dining set
later purchased and installed fiberglass shower/jacuzzi and toilet; phone line activated again; computers set up
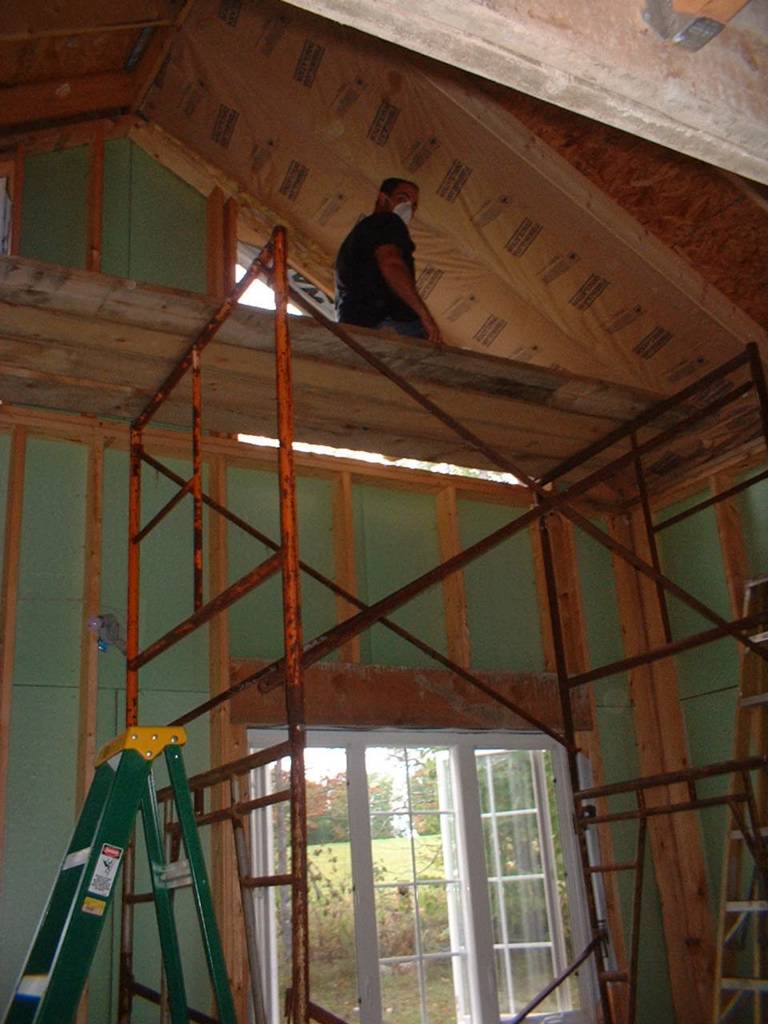
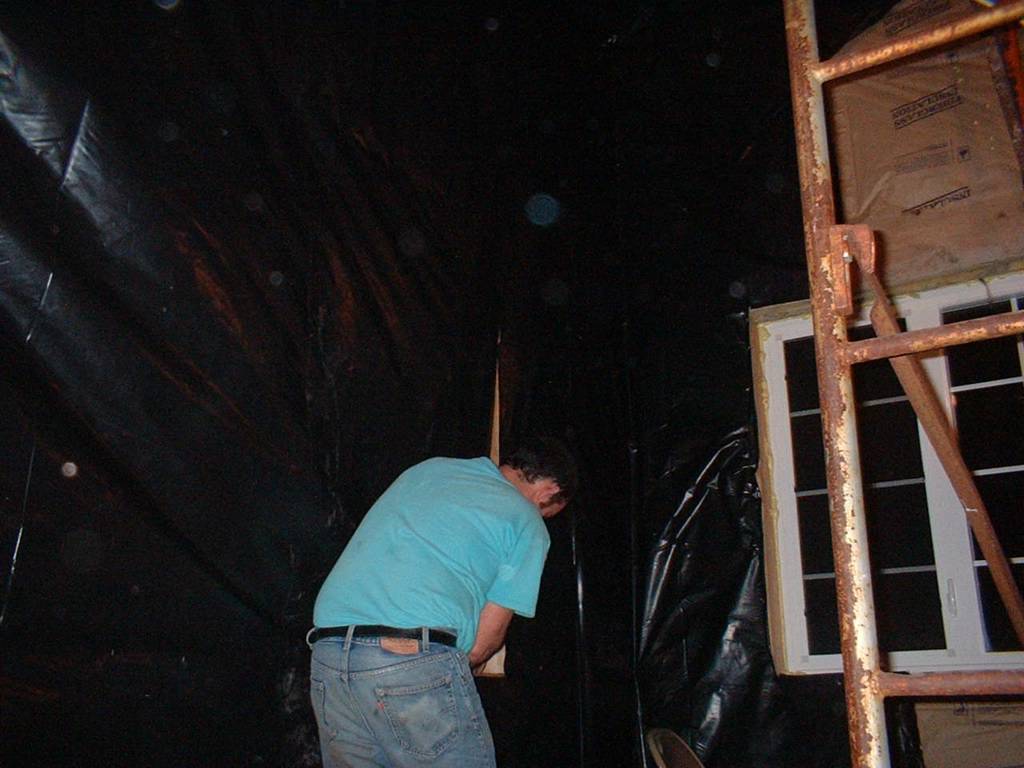
I worked on fiberglass insulation in preparation for the cold weather
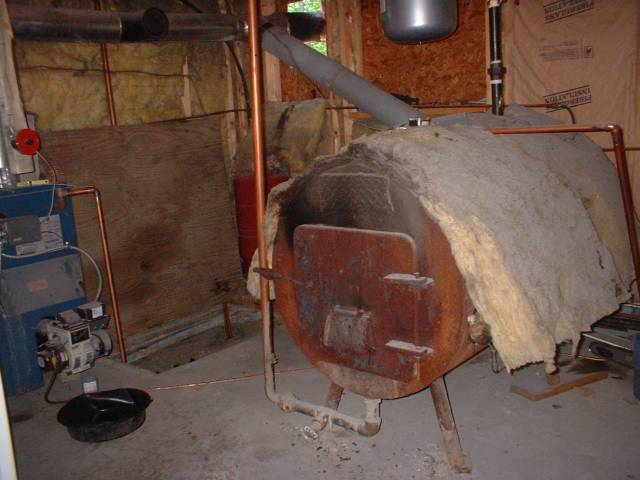
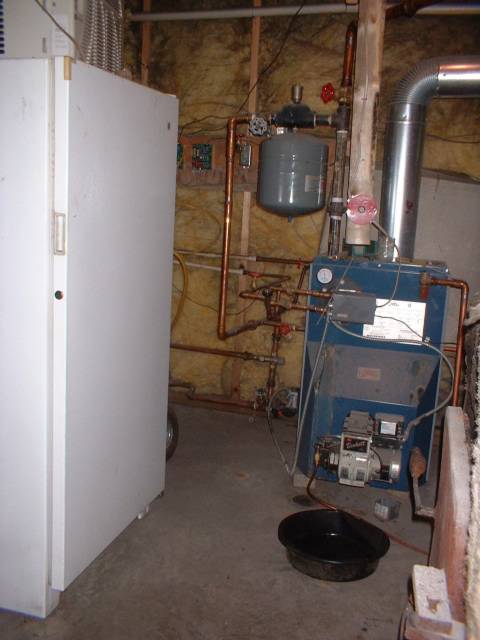
Gary started working on the main furnace in a room within the garage.
october

november- jacuzzi installed

december - furnace and chimney in living room installed; chimney
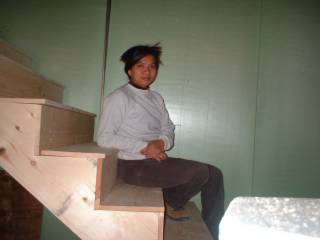
stairways made

2004

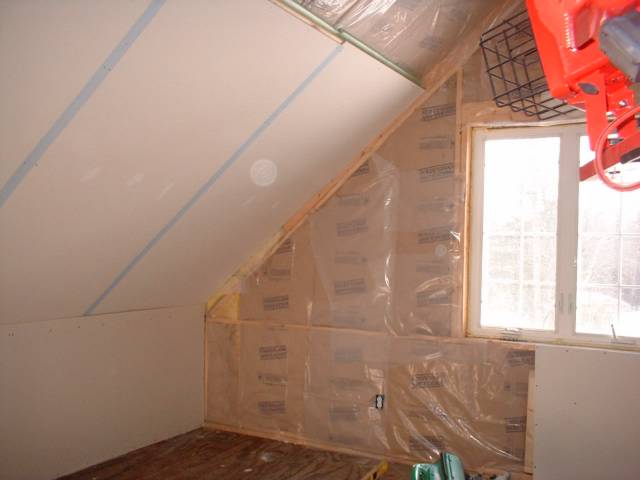
january - insulation and plastic sheeting of living room finished
- enclosed the washer/dryer in the washroom adjacent to the mud room
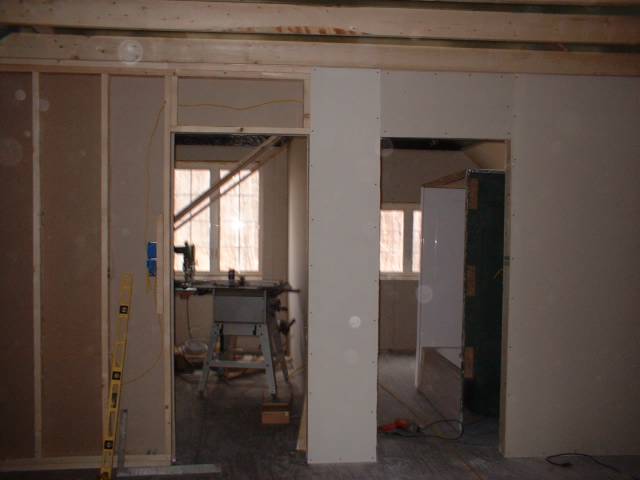
- started working on the 2nd floor rooms (insulation/plastic sheeting/sheetrockin)
- I made temporary shelves in the kitchen

From this point on, the details of our incremental work on our house can be viewed on the archives of this blog.

april - further work on 2nd floor (mudding/sanding)

may - painting the kids' bedrooms; beds made; wirings for power/telephones/computer network installed

june - worked on powerline (transferred main line)


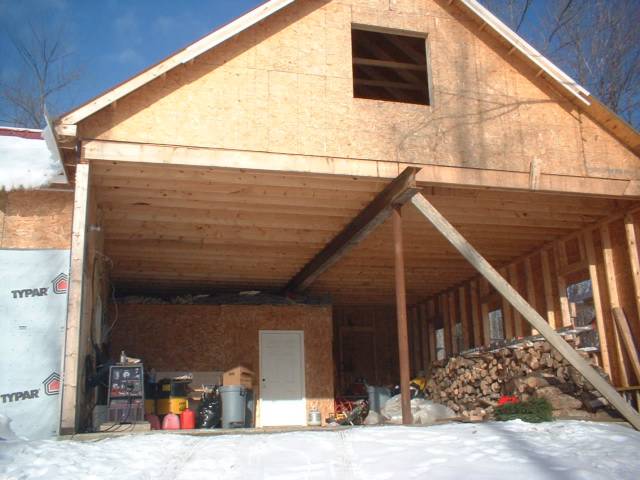
july - gary transferred his office location to second floor contiguous with Ben's room; worked on garage doors and trims; started on sidings

november - finished sidings; made stairs in the garage door to convert second floor into storage room

Some friends (both old and new) find it amazing that we are building our house almost without the help of people outside of our family, but believe me, if we had the money, we would hire someone else. Although we would probably not spend more for a larger, more lavish housing. We planned this house so that we have enough space to move and for everything to have its place, without being estranged from each other by mere distance and space. Also, as part of our foresight that in our empty nest stage, we will not have a big empty house to see us through until we reach our sunset. Our master bedroom was located at the first floor in preparation for weak arthritic knees...Hubby and I have long decided to live together forever, here and for eternity and beyond, if there is.

On the other hand, building it by ourselves is not so bad...we get satisfaction, we can't blame anyone else if something goes wrong, we learn from our mistakes, and yes...we can rightfully say that this lovenest (which may not be a dreamhouse to other people's standards) is truly one we built with our blood and sweat, and therefore, our hearts will always reside in this house.

Plans for this year:

work on the living room

work on the kitchen

I already have an idea of what I would like to do with my kitchen. One thing definite: I will not have granite on my countertop save probably for a small space where it can take the trauma of hot pots and also serve as my kneading area when baking. That is, if we will have the money for it.If not, laminated countertop will suffice.

I am practical and I abhor lavish and extravagant practices for the purposes of showing off and maintaining image. That's also probably one reason why I created my blogs. A lot of people show off what they have on the internet, and you can very well see the reasons why they are such show offs---they have the money obviously! My blogs reflect the life of a simple family, one that is probably the average (at least in this area), that despite a frugal lifestyle find happiness that is deep, mainly because of meaningful relationships that are not based on money or economic status, but one that is based on love and a sincere desire to help one another...These blogs are no Cinderella type of story. It's more of reality, but very unlike the so-called reality TV shows which really annoy me.

Sunday, January 09, 2005

This is an old photo of the garage which also shows the furnace room already in place. The furnace room was constructed during fall of 2003, in preparation for winter. Its walls are insulated with fiberglass to keep cold air out and maximize the use of the warm air the furnace produces.

When you enter the furnce room this is what you will see: the furnace (which Gary covers with insulation materials as well), and the oil burner (blue, on the left). The two are connected, with the hot water coursing through the copper pipes. The silver pot-like thing above the furnace is the expansion tank. It has a rubber valve inside, with air on one side and hot water on the other. It serves to "absorb" the fluctuations in volume (since the furnace goes from cold to hot to cold, creating volume expansion/shrinking depending on the temperature). The expansion tank maintains the pressure at 10 psi. Without it, there is the danger of explosion secondary to very high steam pressure if water/air gets too hot.

This is a better view of the side where the oil furnce is, with its own expansion tank. During the early days we placed our upright freezer inside the furnace room (I asked hubby if it would not do harm that the freezer is placed in the hot furnce room. He said the freezing cold air in the garage would do more damage.) Those circuit boxes behind the expansion tank are relays getting signals from the low-voltage thermostat to the high-voltage furnace. (I'm not sure if I got it right...that's what I got from hubby's explanation...haha!) Posted by Hello

A closer look of the outside switch. You can also see a door trim already in place (dark brown in color). Posted by Hello

That blue box there is a power line. There is another box that leads to the inside of the room, for light switch. The box facing the hall is part of a four-way switch that Gary made so that children (and adults) can turn off/on the lights from either side of the hall or from down the stairs. No groping, no trippin in the dark. The powerline is that yellow cable. That's a table saw in Juliana's room. That yellow rod is a leveling tool. (Gary would love a laser one which also comes with a stud-finder. A stud is that bar of wood that is sandwiched between the sheetrocks. Those are the only points were you could hammer/screw shelves/cabinets/frames, etc.). Posted by Hello

Of course before the sheetrocks are all in place, Gary had to install the power and telephone/computer lines. This is a socket for telephone and computers (we have a LAN of computers, the lines for which are those of the white cables; each has a port for internet connection, hence the telephone lines which are grey). Posted by Hello

This part here somewhat shows the layers of the walls and the ceilings from outside inward:

(1) plywood
(2) green insulation board
(3) fiberglass insulation , attached to rafters and joists (wood bars that serve as support)
(4) plastic sheeting
(5) green insulation board (again, for the ceiling)
(6) sheetrock

The sheetrock serves as the inner wall. These are thick slabs of white and compact cement-like
chalk-like wall, attached to the supporting bars (joists and rafters). The blue lines there are the joint tapes, placed where sheetrocks meet, to cover the seams, and on which mud will be applied to fill in the spaces and sort of erase the seams to make it look like a continuous wall. The mud is allowed to dry for a day then sanded to make it smoother. Then another layer of mud is applied and dried and sanded for final smoothing, before the walls are painted finally. The joints at the corners will be covered later by trimmings (?) - bars of nice-looking smooth wood to hide where the paint ends. You can see more of the process of mudding and taping then painting on the second part of this blog here:Posted by Hello

This is an earlier photo of the side of the 2nd floor where Juliana's room and the bathroom would be. No division yet. The one with the smaller windows is the part where the bathroom would be. That fiberglass bathtub (standing next to the window) will be installed later. Posted by Hello

This is the view when emerging from the stairway and then standing on the left side. You will face this landing, which will give you a view of the living room if you are standing on its edge. We are currently utilizing it to store these pine bars (to be used for ceiling). Later it will contain books and probably a common computer (although we each have our own computers save for Ben...still working on his, waiting for the money to build one. Some parts are already with us, either from Gary's or mine upon upgrading ours, or given by other relatives/friends who upgraded theirs.) The windows as seen here are those of the living room. We might chop off some parts of these ceiling to make room for shelves or part of one closet room. WE are flexible on our plans inside the house. Posted by Hello

This is the side where Juliana's room would be, and the bathroom (on the right) already partly has the sheetrock. Gary sets up the bars first, then when the sheetrock is up, he will saw off the bars at the bottom of the doorway. Posted by Hello

Upon getting to the second floor this is what you will see...No railings yet.That wall far ahead meets the sloping ceiling. It will form part of the children's closets in the future. To the right are the boys' rooms-to-be, Juliana's and their bathroom (not seen here) will be on the left. Posted by Hello

Tuesday, October 19, 2004

Sometime in Dec 2003 Gary "sculpted" 4 bars into this shape, to act as support for the stair leading to the kids' rooms.

Then placed these boards as steps. The lighter and easier task of sanding was left to me; however, since we were seeing more up and down movement of heavy pieces of wood and building equipment like the table saw, we procrastinated the sanding until such time that it is ready for the finishing touch. Posted by Hello

Thursday, September 16, 2004

During our first days here, the house could practically be likened to a person who was just purely skeleton and skin. The green insulation board on the walls of our house, plus the typar plywood facing the outside were all that separated the inside from the outside. Quite unluckily, the moment we got here, the weather shifted from very hot (summer) to one of very verrrrrry (brrrrrr?) cold one (start of fall).
This photo shows the master bedroom at that time, with a makeshift bed that Gary built, and we used inflatable mattress which we borrowed from my in-laws.

This shows the same room after I have installed the fiberglass insulation on top of the green insulation boards.

Adjacent to the walk-in closet was the master bathroom. This was taken sometime in September. The fiberglass shower room here was already an improvement from the makeshift one that Gary made out of plywood, and where I first would wash the dishes. The toilet first installed here was too short, so we opted for the taller one (easier for the oldies to get up from). I was the one who chose to have a pedestal type of lavatory. All the plumbing and the electrical/telephone/computer network lines are being installed by Gary incrementally according to the area he is currently working on.

The triangular jacuzzi, our source of pleasure and luxury from time to time, is placed at the corner against the would-be wall. In this photo the network hub of the computer is also seen as rectangular black thing near the speaker (we like music from Gary's computer when taking a bath) and the colored things on the window sill are the scented candles for adding romance....

My workstation beside the bed. Gary builds all of our computers and, when finances permit, upgrades them, along with the scanners and printers (at least him and I have our own).

Since we used the living room as a storage room for the flooring and for the staging which Gary used to reach the ceiling when he put the insulation and the plastic sheeting, we had to move the couch and the TV to our bedroom. Here the bedroom door is not yet in place...

Then sometime in January we finally had a door!!!! (hurray!) and the sheetrock on the walls, so finally, we had privacy (though sounds are quite easily heard from the outside so we always gotta be careful... Posted by Hello

Monday, July 26, 2004

This is now the living room, the side that faces the back part of our house, sometime in aug 2003. I love the french doors opening to the same spot where the FD of our master bedroom opens too (in the future, there will be a deck there, leading to an elevated pool). <br>br>The kids used the area as their sleeping space initially. (The second floor had no partitions yet, and there was no stairway going up at the time.)

This was the side that faced the front and the west end of the house then. Noticeable here is the absence of insulation (it was Fall).

Then later, Gary put up the insulation on the ceiling, using the staging to reach it...

I continued with the insulation (it kept me busy during those boring winter days) on the walls. Then Gary put this furnace in place (for additional heat. The furnace in the garage is the main heat generator.)

Then Gary worked on adding the plastic sheeting running from the ceiling down to the walls. Posted by Hello

Sunday, July 18, 2004

Gary is installing the cooking range here...behind him is the area where we would have the sink and countertop.

This was the kitchen area then (no stairs leading to the 2nd floor yet, no sink, no countertop.)

This photo was taken around Jan 2004...Gary had installed the sink, the dishwasher and cooking range, I had finished putting up the insulation but not the plastic sheeting.)